AFFILIATE MARKETING
3 Best Methods in 2023

Can’t seem to hide the featured image in a WordPress post?
No sweat.
This article will explore a few ways to remove and hide featured images if you don’t want them.
The short answer is to look in your theme settings because most themes allow you to disable them with a simple click.
However, some themes don’t allow it or can be tricky to find and use such settings.
Keep reading to discover how to hide featured images in WordPress.
How to Hide the Featured Image in a WordPress Post Using the Theme Settings
The most effective and often easiest way to hide the featured image in a post is in your theme settings.
It’s effective because it makes the best adjustments to the code, keeping things running smoothly.
In this section, I’ll show you how to hide featured images in WordPress posts with a few of the most popular WordPress themes.
Let’s take a look.
How to Hide the Featured Image with Blocksy
Here’s an article’s featured image in a starter template for Blocksy.
If you want to disable the featured images for all of the blog posts, follow these steps.
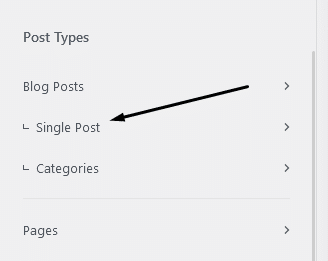
First, open up the customizer by clicking Customize and look for a setting for Single Post:
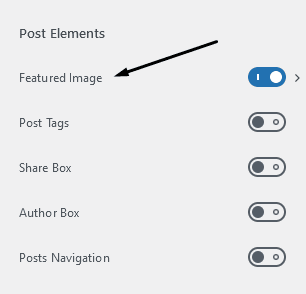
Then, find an option that lets you turn off Featured Image:
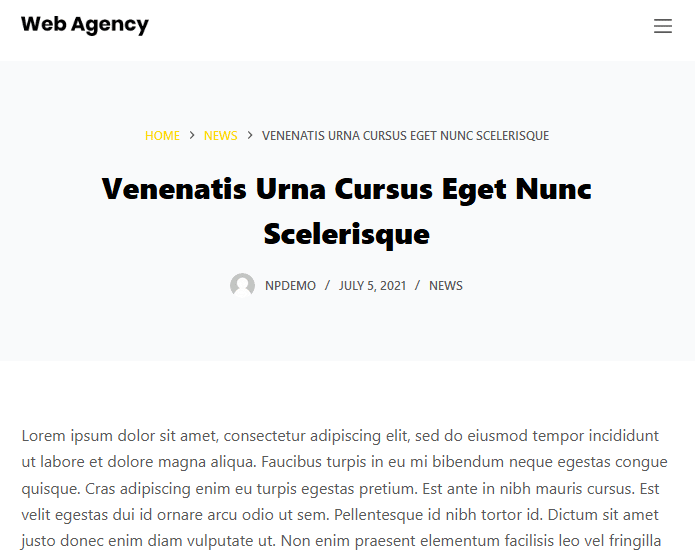
When you toggle this option, you’ll notice the featured image has now disappeared from your blog posts:
Now, let’s see how it’s done in a different theme.
How to Hide the Featured Image with Neve
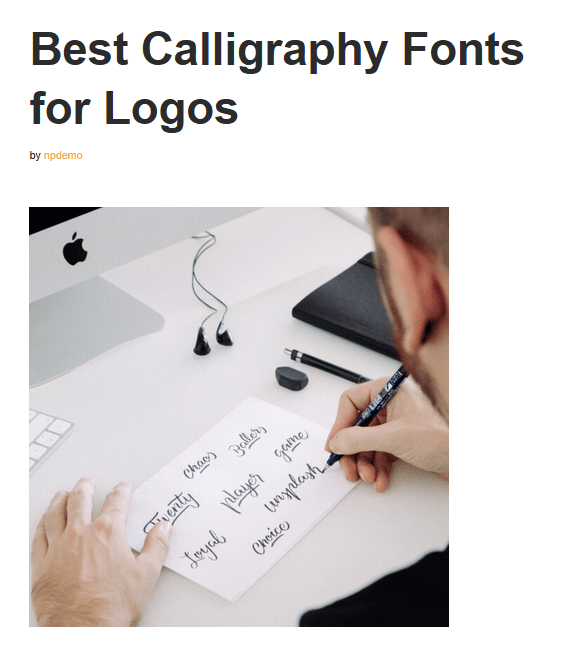
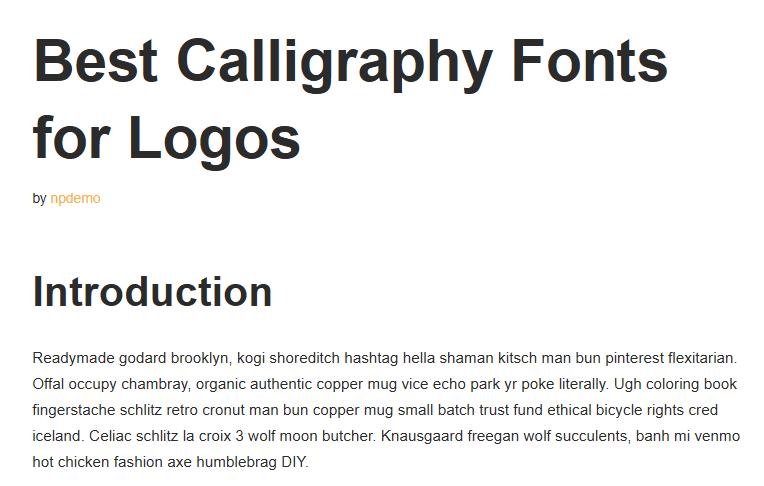
Here’s what the featured image looks like with one of the starter templates for Neve:
The setting for this one looks a bit different. I found it under Layout > Single Post > Page Elements:
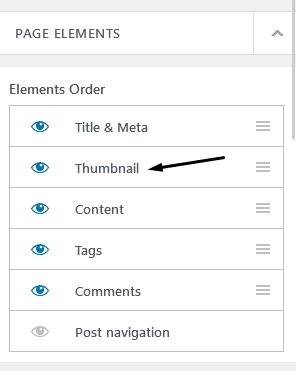
Selecting this option will hide the multiple featured images throughout the site.
How to Hide the Featured Image with Challenger
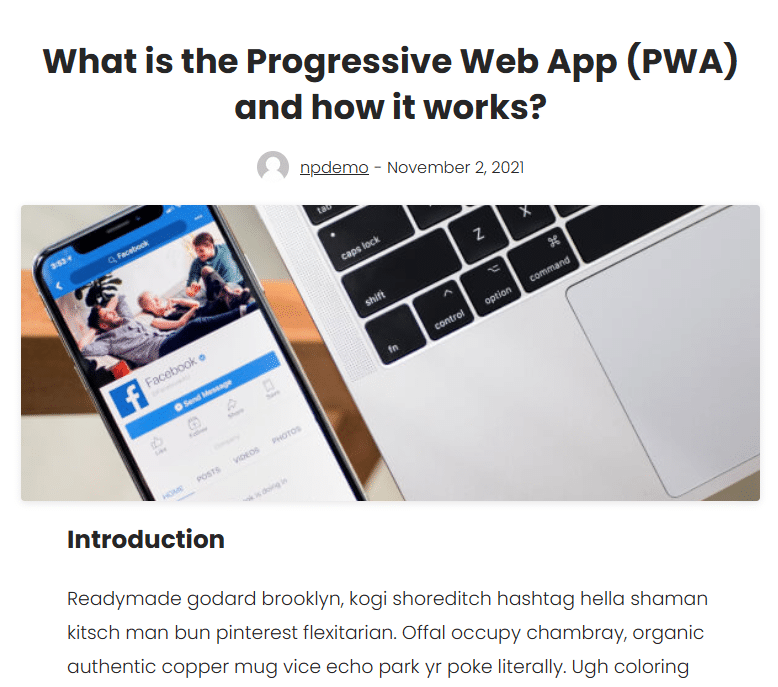
Challenger is a minimal WordPress theme that lets you hide the featured image in its settings.
Here’s what it looks like:
The setting for this one was under Show/Hide Elements > Posts > Show Featured Image:
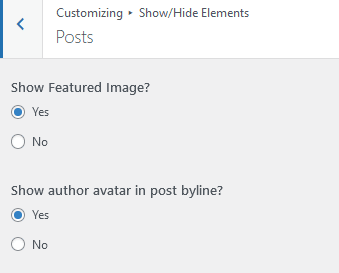
And here’s the finishing look.
Hide Featured Images in Archives and The Blog Roll Using the Theme Settings
The previous section only removed the featured image from single articles.
In this section, I’ll show you how to hide the featured image from the main blog roll, where your recent posts show up.
Again, I’ll use the same themes for my examples, but you’ll notice it’s very similar to the theme you’re using.
Hide the Archive Featured Image with Blocksy
Here’s the blog roll in Blocksy.
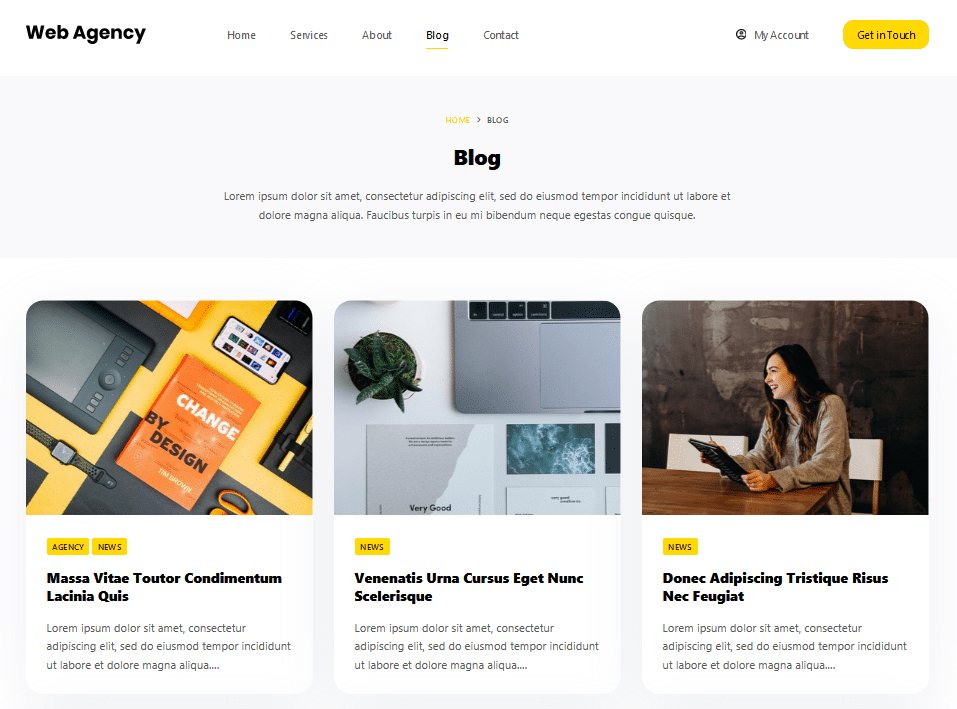
To remove the featured images on this page, go to the theme’s customizer.
You’ll see a bunch of settings like this:
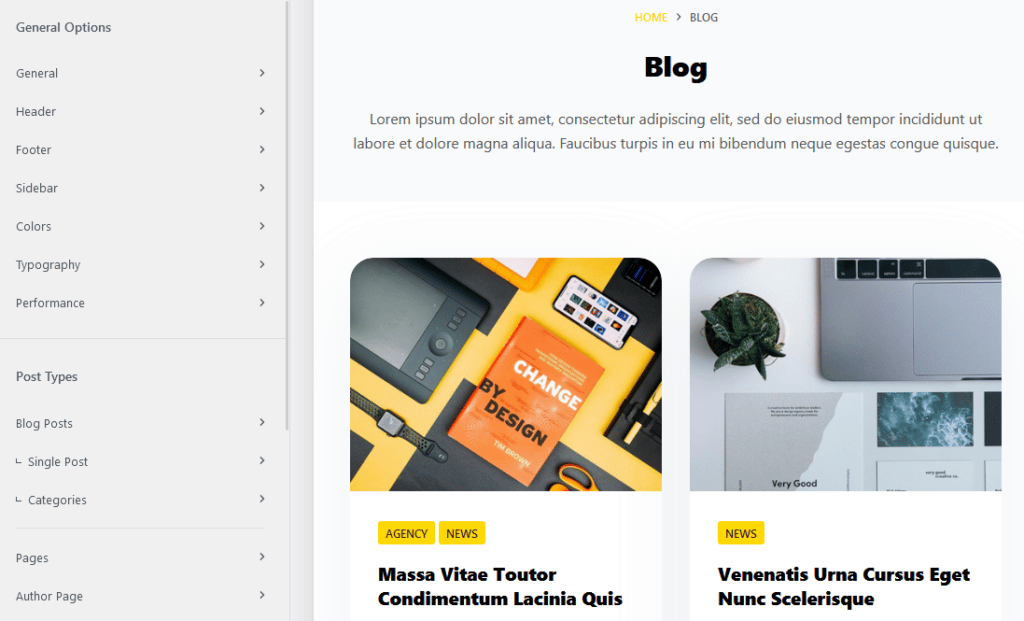
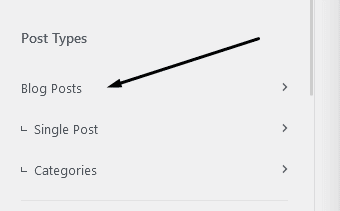
Your settings might look slightly different, but you want to find an option for the Blog Posts settings.
Like this:
Blocksy has a setting called Cards Options:
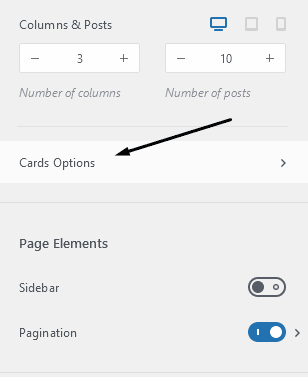
Inside here is the setting to turn off featured images:

You’ll see on the right that all the featured images have been removed from that page.
Now, let’s see how it’s done in a different theme.
Hide the Archive Featured Image with Neve

Here’s what the blog page looks like in Neve:
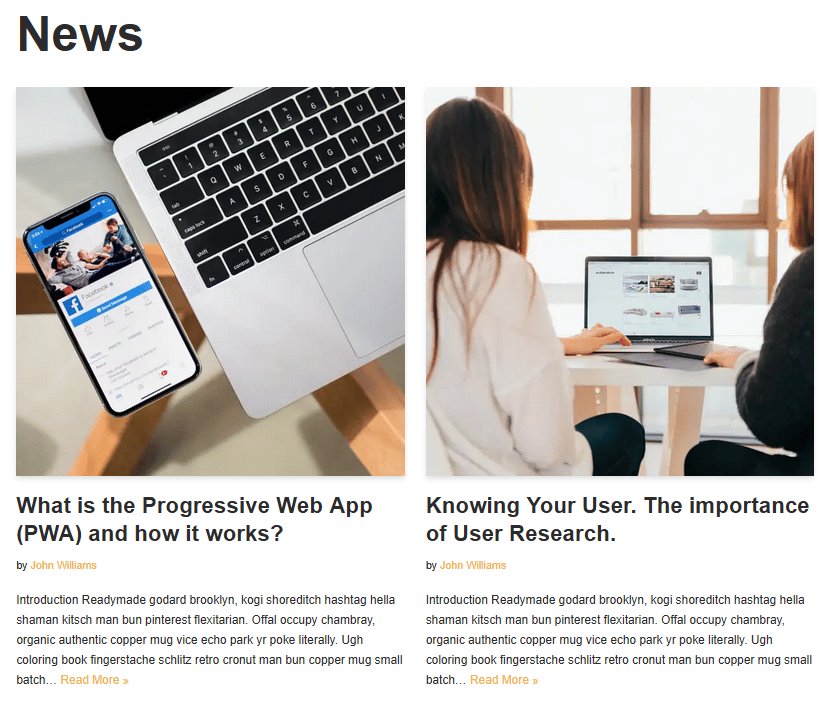
To remove the thumbnail image, navigate through the customizer settings to find the blog options:


The featured image settings are under Ordering and Content:
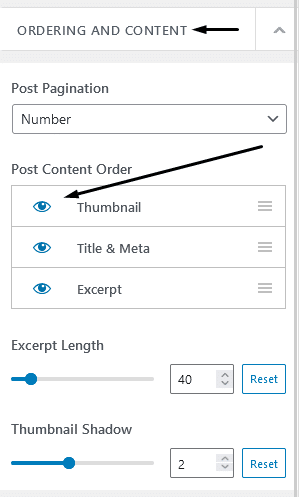
Clicking on the eye icon next to this option will hide all the images on the page.

Hide the Archive Featured Image with Challenger
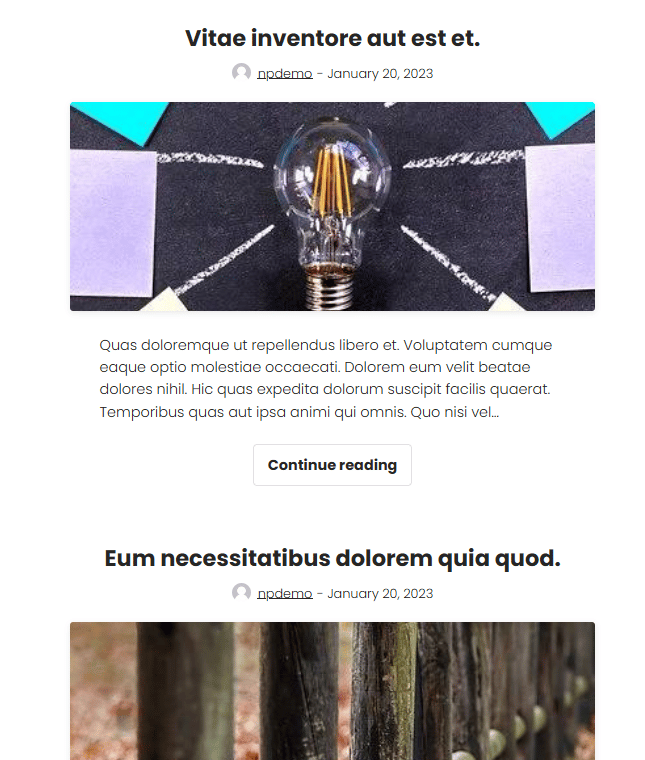
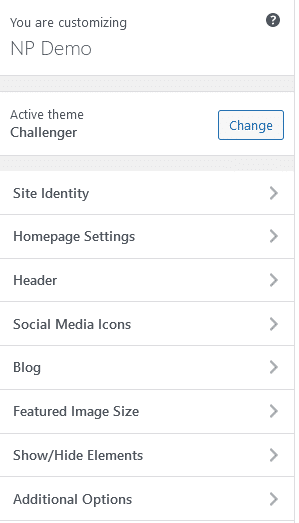
For the Challenger theme, head over to the customizer and select Show/Hide Elements:
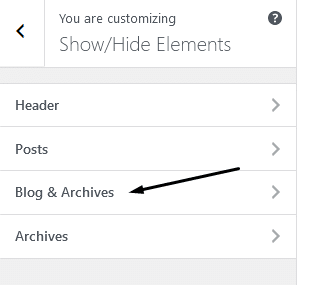
Then Blog & Archives:
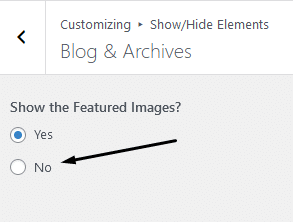
Then, select No under Show the Featured Images.
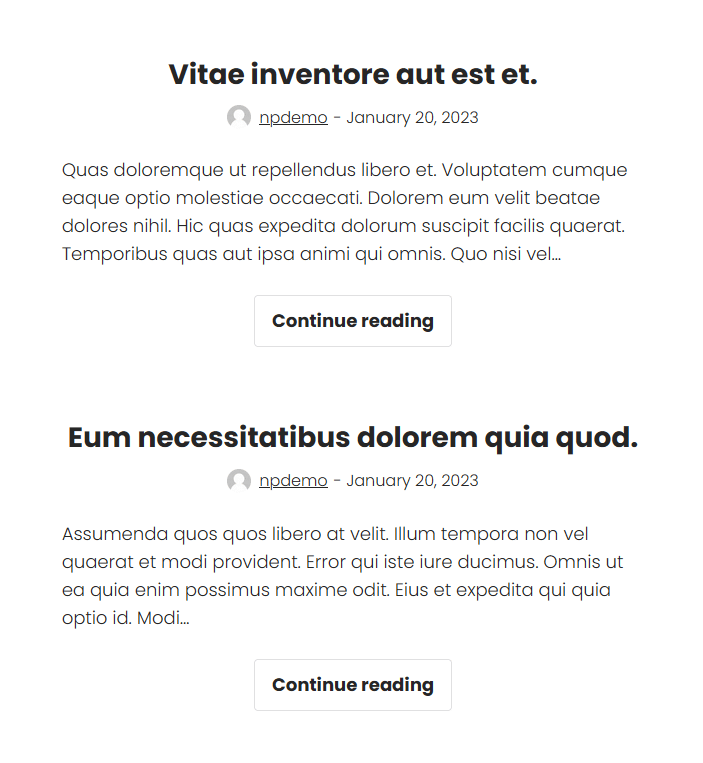
All of the featured images will be hidden from the WordPress blog.
How to Hide The Featured Image on Individual Posts
Using the steps in the last two sections works across all your articles. But what if you want to only hide individual featured images?
The easiest way is to not upload a post image in the first place.
The problem with this method is that there won’t be an image displayed on the blog roll or post archives page either.
If that’s okay with you, then you can skip this step.
However, if you want to display images on the blog roll but not on the individual post, then here’s the answer.
Most premium themes, such as Astra or GeneratePress give you the option to switch it off.
Here’s what it looks like in GeneratePress:
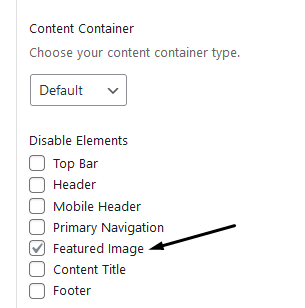
You can toggle this option off in each of your articles individually. This is usually only a feature in premium plugins though.
The workaround for this is to use CSS, which I’ll show you how to do later in this post.
How to Disable Featured Images in a WordPress Post Using a Plugin
What if you’re using a free theme that doesn’t let you hide the featured image in a WordPress post?
The best option would be to upgrade to the premium version of the theme you’re using.
But, if you don’t want to do that or the premium version doesn’t let you, then this method will work.
The best WordPress plugin I found to hide images from a single post is the Hide featured image on all single page/post plugin:
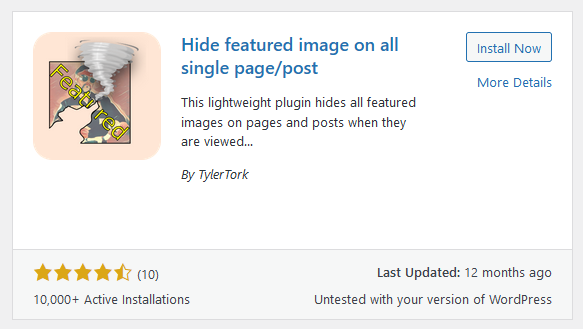
All you have to do is install and activate it, and it removes all featured images on blog posts.
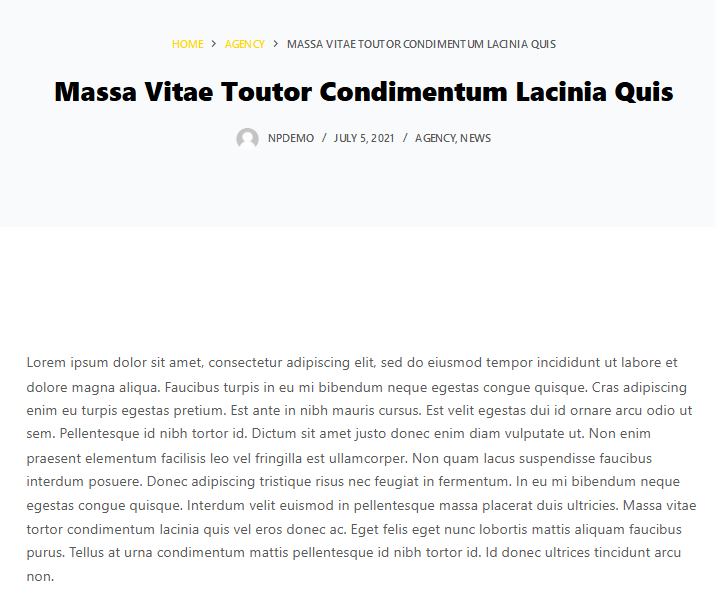
There were a couple of problems with this method, though.
It doesn’t remove images from the achieves page, and for some themes, it didn’t work at all.
Let’s look at the last method on how to hide the featured image in a WordPress post by using some CSS code.
How to Hide Featured Images in WordPress Using CSS
If you’ve tried the previous methods and, for whatever reason, they didn’t work, then try this.
First, define the target CSS code by right-clicking an articles featured image and select Inspect:
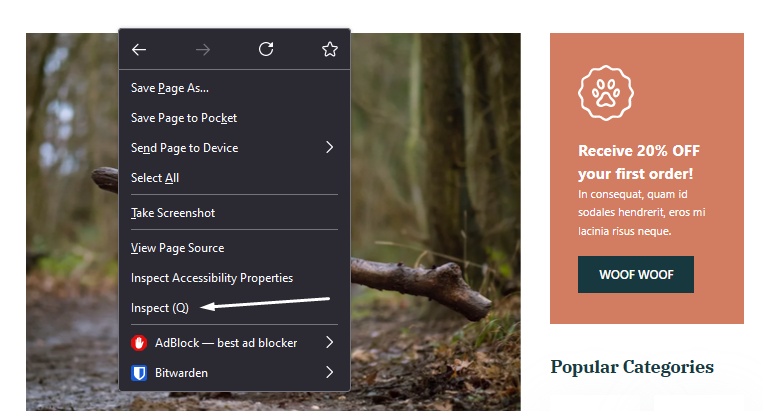
This will open up the developer tool in your browser. Hover over the image and click it to highlight the code in the window:
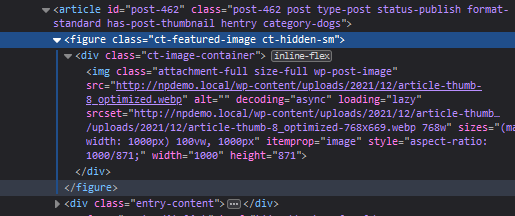
What we are looking for is the HTML and CSS class that places the image on the page. In the code above, any of these will target the featured image:
- ct-featured-image
- ct-image-container
- wp-post-image
Now open up the theme option tool and navigate to Additional CSS:

Take one of the CSS classes from your theme that displays the image. I’m targeting the CSS class that is the furthest away from the image.
If you target the image itself, you might be left with styles on the page, leaving things like padding behind.
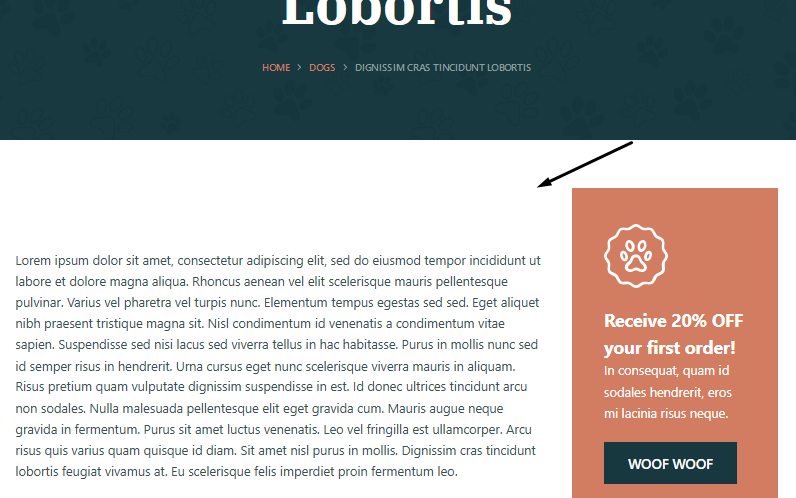
For example, if I target the code wp-post-image, it leaves me with too much space at the top of the article:
The code looks like this:
.ct-featured-image {
 display: none;
}
All you have to do is change ct-featured-image with the CSS class you have defined in your own theme.
The display: none; text will hide anything inside the HTML with the class you’ve targeted.
Here’s the result:
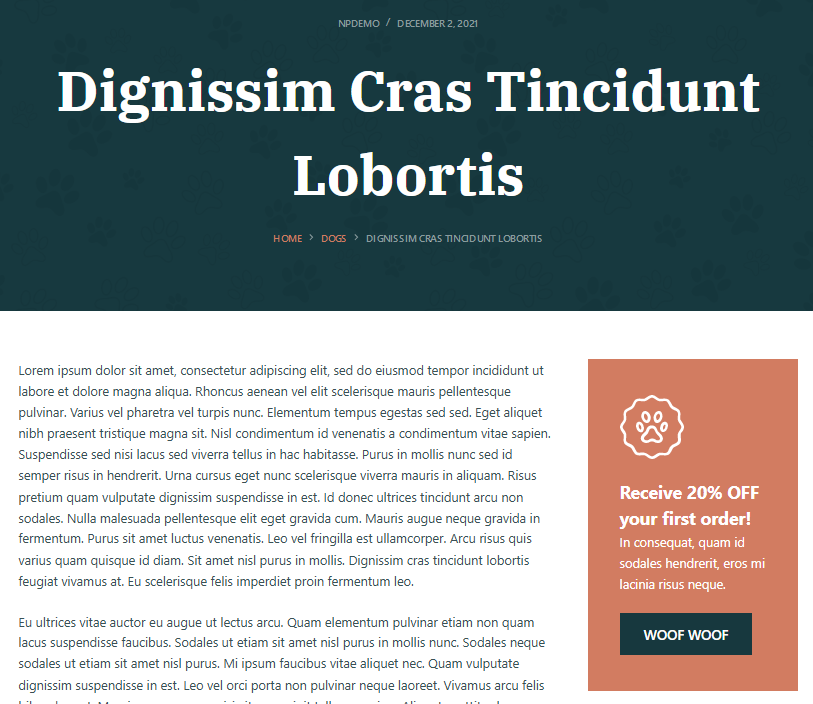
If you want to hide the image on the blog archive page, do the same, but target the correct CSS class for that page.
In my case, it’s this code:
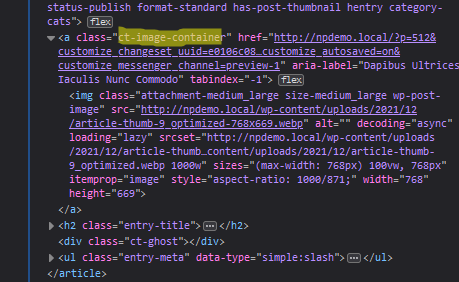
And when I add the custom CSS code to the customizer, here’s what the blog archives page looks like:
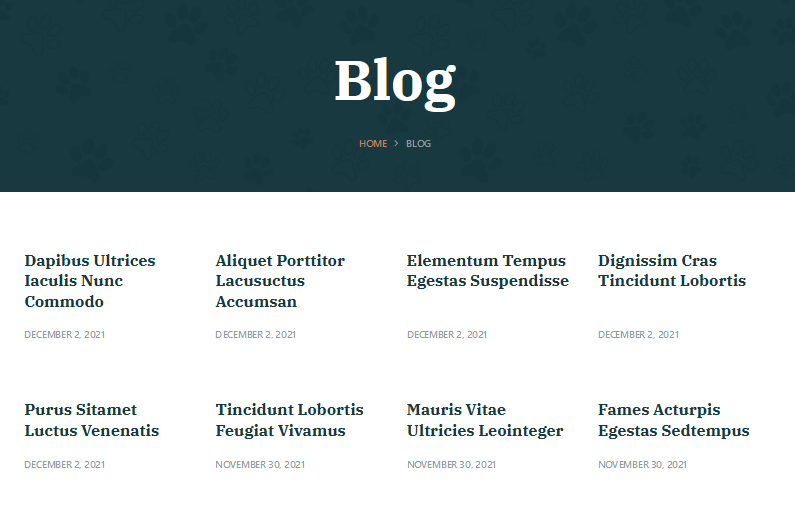
Just remember that if you’re using a different theme, then your code will be different. Therefore, it might take a bit of trial and error to get it to work if you’re new to editing CSS.
An alternative method is to use the plugin CSS Hero or check out our post on how to edit code in WordPress.
Conclusion
There you have it. If you want to know how to remove the featured image from a WordPress post, these methods are bound to help.
It should be as simple as switching them off in the theme’s customizer. However, you might need the premium version of the theme to do that.
If that’s your case, you can use a plugin or CSS code instead.
To learn more about CSS, check out our post on how to edit CSS in WordPress.

![How AEO Will Impact Your Business's Google Visibility in 2026 Why Your Small Business’s Google Visibility in 2026 Depends on AEO [Webinar]](https://articles.entireweb.com/wp-content/uploads/2026/01/How-AEO-Will-Impact-Your-Businesss-Google-Visibility-in-2026-400x240.png)
![How AEO Will Impact Your Business's Google Visibility in 2026 Why Your Small Business’s Google Visibility in 2026 Depends on AEO [Webinar]](https://articles.entireweb.com/wp-content/uploads/2026/01/How-AEO-Will-Impact-Your-Businesss-Google-Visibility-in-2026-80x80.png)





You must be logged in to post a comment Login